Black Walnut
- Jan 4
- 2 min read
Updated: Jan 4
I'm almost ready to start working on a walnut bed that matches the one in Tennessee. I looked back on my phone to see when I milled a black walnut log to see if it had set long enough to dry. As I was looking through the pics I thought it was a good group of pics to show the milling process.
August 2024 Alabama, NY
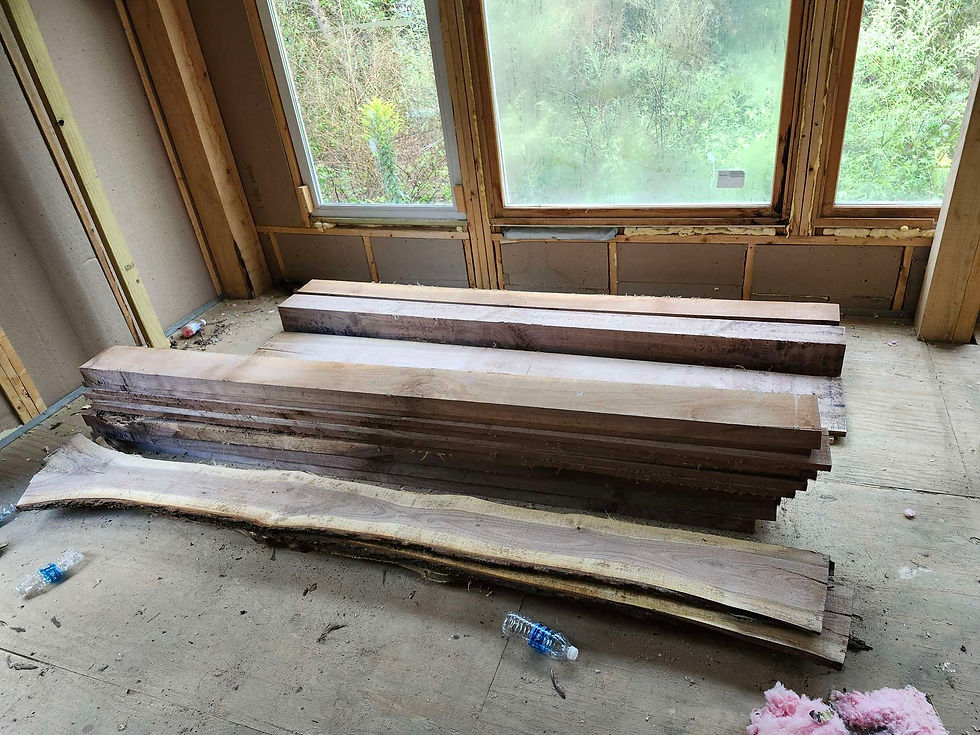
It started with the log. Todd Wicks, tree guy, dropped off some decent black Walnut logs for free-thank you Todd- a very hard working and interesting man. From there I began thinking about what I could make from this batch and settled on the bed idea. One time when I was in TN I measured up the bed parts and made my cut list.
(Pic of piece list?)
We started with just getting the log on the mill. This was a very heavy log so we had to be careful not to tip the excavator.

After you get a log on the mill you need to roll it to get the least amount of splits and the best layout for the cut.

You basically measure the big and little size of the log diameter and you can find the size of the square stock that you can get out of it (called a cant) using the following formula:
Diameter of small end times .707 which comes from D x Sqrt(2)/2. You consider the center of the log (the pith) and avoid that being the center of a piece.
Then from your cut list and cant size you lay out the cuts on the end of the log to maximize the usage and minimize waste. Something like this:

The first cut is easy:

The second cut is critical. It has to be square to the first cut so we take a square and make a sharpie line perpendicular to the first cut. Then the log is rolled until that sharpie line is in line with the blade. I eventually installed a cheap harbor freight electric winch to help with this process because it is definitely the hardest part.

Then we just make the other two cuts and we end up with the cant.

Now you set the remote for the desired thickness of the boards and it's pretty much automatic.

Next it's off to one of the drying racks or in this case I put it inside the building and eventually put it inside of the solar kiln. The kiln is probably enough for a whole separate post.
The hardest part of the whole process is dealing with the wood after it's cut. The pieces are moved to one of the wood mats that we use for drying. There the wood is stacked with 3/4" square wood scraps called stickers. Stickers help with air flow and help the wood dry more easily and quickly. This is an example of stickered boards (not the walnut)

One thing that I added after we cut this log was some rolling conveyors. They're flexible so I can take cut wood to any of the drying racks or into the building or kiln.

Hopefully there's more to come on this walnut as the bed project gets underway.


I like the video at the end and pics of the log cutting to explain it!